Obviously the big news in the Blender universe is that version 2.8 is now out of beta and they’re now evaluating a succession of release candidates. I told myself I would wait until it’s been officially released before switching to it as there is a lot of new stuff to learn and it’s going to take a while. However I did hear that it renders much faster and more importantly can seamlessly switch between GPU and CPU rendering modes as needed. This means no more crashes when running out of GPU memory.
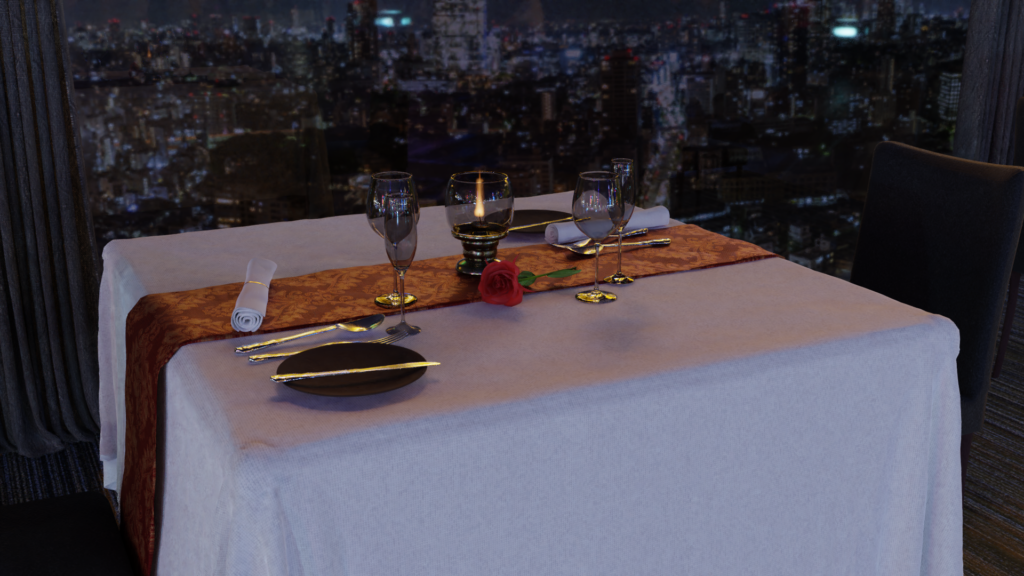
This was a problem with my latest project above featuring a romantic dinner table. Once I’d added in the image for the fake city backdrop, I found that I couldn’t render it without running out memory. Rendering it CPU-only was also painfully slow, probably due to the caustics of all the glassware in the scene. So after I’ve finished working on the scene in 2.79, I just loaded it up in the latest RC for 2.80 and ‘lo and behold, it rendered just fine without fiddling required. It was pretty fantastic.

Next up is my effort at working on another tutorial by Sorbias linked here. The most interesting part here is creating a believable texture on the surface of the coffee without using any external texture images. It’s actually quite simple, using only weight-painting to determine where to generate bubbles in the required pattern. The tutorial does use an image to create fake wisps of steam with artsy whorls and twists. I implemented this with a real volumetric effect instead and of course it’s impossible to make it look as good because real steam probably doesn’t twist around so dramatically. But I’m actually quite happy with my result here.
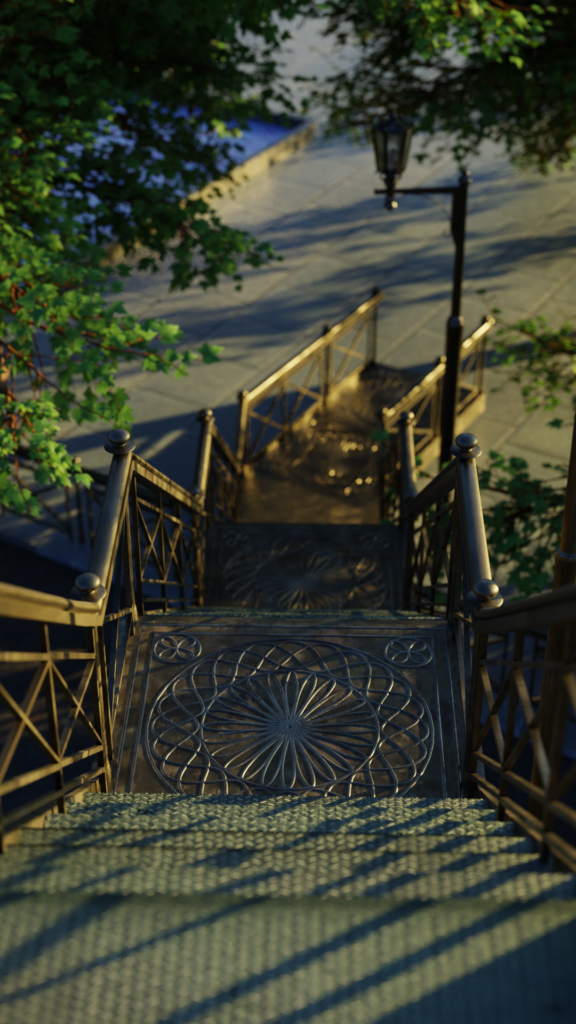
Sometimes all that is required to make a scene look good is angling the light in a dramatic way and I think this project serves as a good example of that. It combines several tools I wanted to try out as an exercise. Archipack to create the basic structure of the staircase, the Modular Tree add-on to quickly create rather good looking trees and of course a HDRI to provide the steeply angled light that makes all the difference.
I did have to do quite a lot of work to manually alter the staircase model to what I wanted but of course Archipack helped a lot. For the trees, Modular Tree did everything and better than I probably would have been able to do myself. The pattern on the metal plate was generated by playing around with curve settings. It would have looked much better if I had manually created the pattern myself and made it appropriately flat but I’m lazy and I think this one turned out decently well for how little work I put in it.
Finally just because all of my previous water simulation animations ended up having to compromise on quality settings to achieve reasonable rendering times, I wanted to make one that actually looked good, period. I think this one looks reasonably good and was actually dirt simple to make though of course I cheated by making the background a HDRI.
I do think that this month’s images look better than any previous post I’ve made. But in general I’ve gotten lazier and lazier at doing complex modelling work. I’ve begun to rely more on add-ons and textures I’ve found to do all the actual heavy lifting. Perhaps that’s one way that professional artists learn to finish jobs within reasonable time frames. For me, I’m not getting paid for all this as it’s just a hobby so I wonder how much longer I can keep up interest in this when I really do need to do complex modelling work to get better. Anyway next up will be really sitting down to learn Blender 2.80 and perhaps experimenting with EEVEE so I’m not done with it.