I’m taking a little easier for this month’s set of Blender project as I make the full transition to version 2.8. This is actually quite a chore as so much has changed. I regularly have to Google for how to do common tasks that I’m already very familiar with in 2.79, such as how to add reference images, or check normals or set the origin point of meshes etc. It’s especially annoying when I’m checking out YouTube tutorials and the old ones refer to settings that have now changed places. I’ll get it eventually but it takes time and practice.
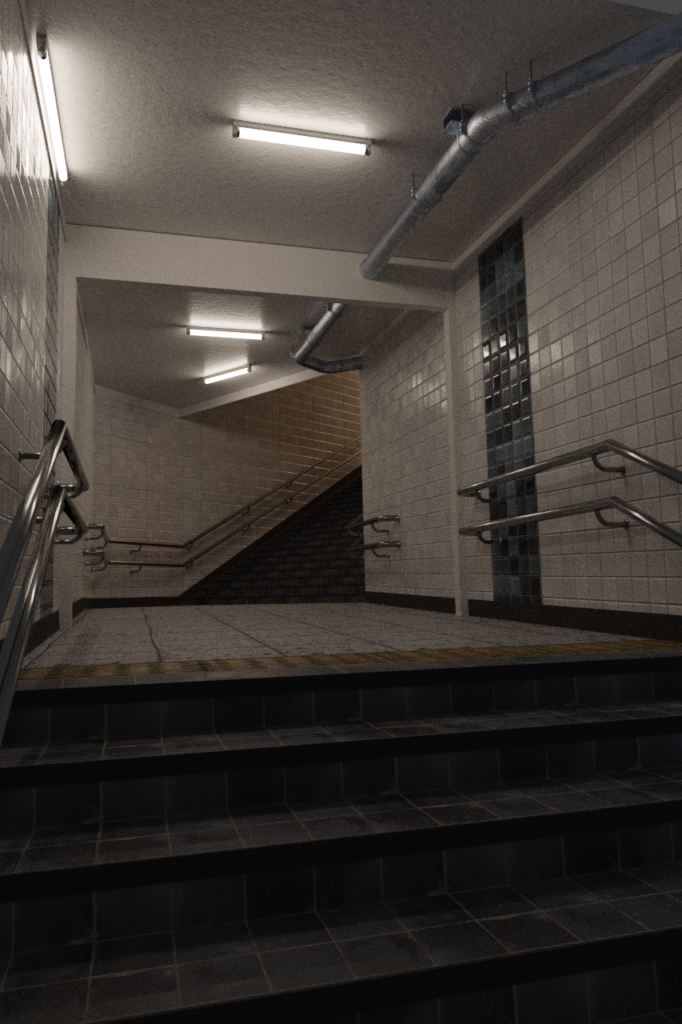
To start with, I chose this well known and very old project by Andrew Price of Blender Guru. This is of course a tutorial for an older version of Blender and I took way longer than 20 minutes to do it. I considered using Eevee to render this but I couldn’t because Eevee doesn’t support lighting from meshes. Also fun about this was learning to use the fSpy tool to generate a camera that matches the perspective of the reference image. It’s strange that Price doesn’t seem to realize that the reference is itself a render made with another program and seems to think that it is a photograph. My version still doesn’t look as good as Price but this makes for a rather solid warming up exercise for version 2.8 I think.
Another YouTube tutorial I tried my hand at is CG Geek’s tornado one. This ended up looking very different from the original. I disliked the fact that the original one basically uses an image backdrop and only really had the tornado itself and the foreground. I wanted to experiment a bit with volumetric clouds and this seemed to look really good.
Unfortunately this turned out to be impossible to render in Cycles. It would crash my GPU every time and I wouldn’t even dream about trying to render an animation with CPU only. Actually I thought that Blender 2.8 was supposed to seamlessly transition between CPU and GPU rendering as needed so GPU rendering wouldn’t crash but I suppose that isn’t the case. Due to the switch, I thought I might as well add some other details to make the scene a little more different than the original. It in no way looks photorealistic but personally I’d still consider this to be of acceptable quality.
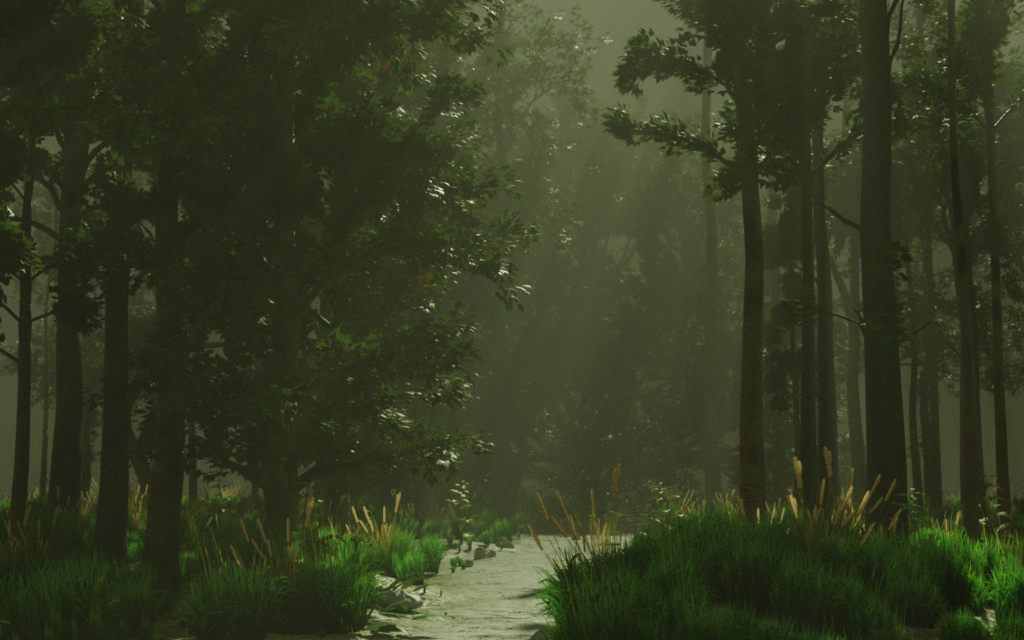
Ever since I first made a forest scene that turned out not so well, I’d wanted a redo. This is a more modestly sized scene of course but it’s made of all real 3D objects. Well, except for the grass. With the modular tree add-on, it’s easy to generate the trees as well so almost no manual modeling work was required in this scene. Plus I’d also tried to experiment with god rays before but was never able to make them look good.
I’m quite happy with how this one looks and despite the high number of polys involved between all the trees and the grass and the volumetric effects, the rendering time for this scene was surprisingly modest. I’m pretty sure that it would have taken much more time to render this in 2.79 so I’d chalk this down to one of the major improvements in the new version.
I did notice that very little modelling work was required to actually make the above stuff and I’m really weak at modelling still. As such I wanted to work on improving that. Most of my other stuff relied heavily on photographic references and I wanted to move away from that as well. So here’s something I’ve never done before: a sci-fi blaster. I did use a reference here as I’m not really that creative. But it’s a simple line drawing from an old gamebook series called Falcon. This meant that I had to come up with some extra details myself.
It’s probably still not really detailed but still took more time than I’d expected. I’d tried some new techniques doing this, such as relying less on adding geometry and using modifiers instead. But I’ve found that the bevel modifier for example adds quite a bit of overhead if you use it extensively and it’s hard to control where the generated geometry even when using weights. Also, it’s necessary to bump up the subsurface modifier quite a bit. It seems faster and easier just to manually add geometry when it’s needed.
Since I was too lazy to model some background and a whole scene around it, I thought I might try to place it on a panel with some fake UI graphics and animate the whole thing. I’m really bad at controlling the camera movement but this looks okay to me and once again it’s all rendered in EEVEE. It would be really hard to get those UI elements to look right in Cycles.