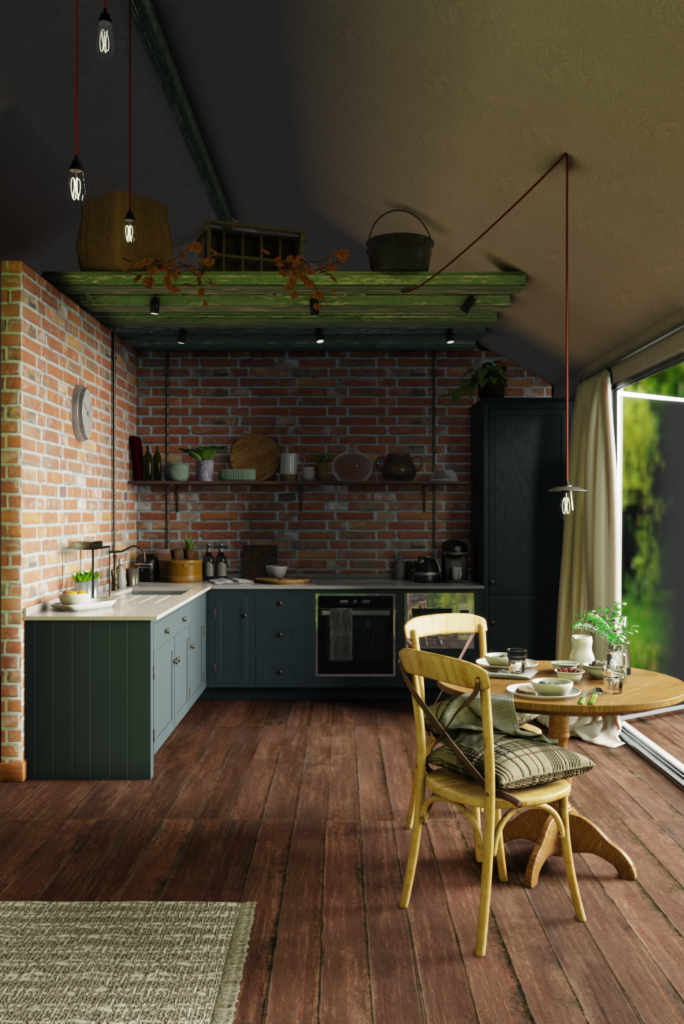
Partway while working through this batch of renders, Blender 2.81 actually dropped but the most important improvements are in sculpting which I don’t really do anyway. I spent a lot of time over the past couple of months working on this one scene, rendered in Eevee here. Nothing really new here in terms of technique but it stands out simply because of the sheer amount of detail present and that involved modelling each and every one of the small objects present in the scene. I think it represents my best work so far but it really did take a long time to do.

This one is of course much simpler being yet another water simulation fun thing. I did this because I was very unhappy with my beach waves scene I made a while back and wanted something high quality in shallow water. I also ended up having to bake the ball’s textures to get a single texture file, which I’ve never done before. Simple, but I rather like it. Also nice to go back to Cycles after spending almost all my time in Eevee recently.
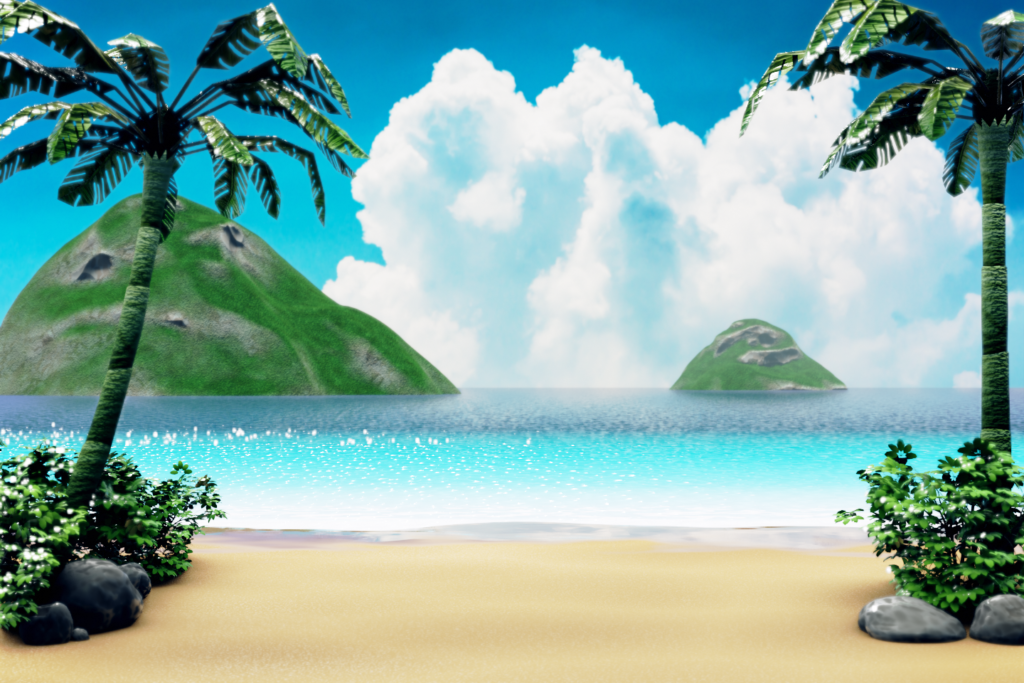
This next one unfortunately is messy, sloppy work that I’m not happy with at all but I can’t be bothered to put in more time to fix it. I made this following along the CG Cookie stylized island tutorial. However that was a livestream by Kent Trammell and so it involved many mistakes and backtracking. It was interesting to see a professional make elementary mistakes or forget things or even do things in a less than perfect way because Blender has so many features and we only learn and use a small subset of them. It made me feel better about my own abilities.
However Trammell clearly like to sculpt and paint and I don’t and following on with the recorded livestream video is very time consuming. I also ended up disliking the decision to go for a stylized look because after working on this, I feel that it’s meaningless without first choosing a specific art direction. I ended up not being sure what looks realistic enough and what is okay with being “stylized”. Yeah, not proud of this at all.
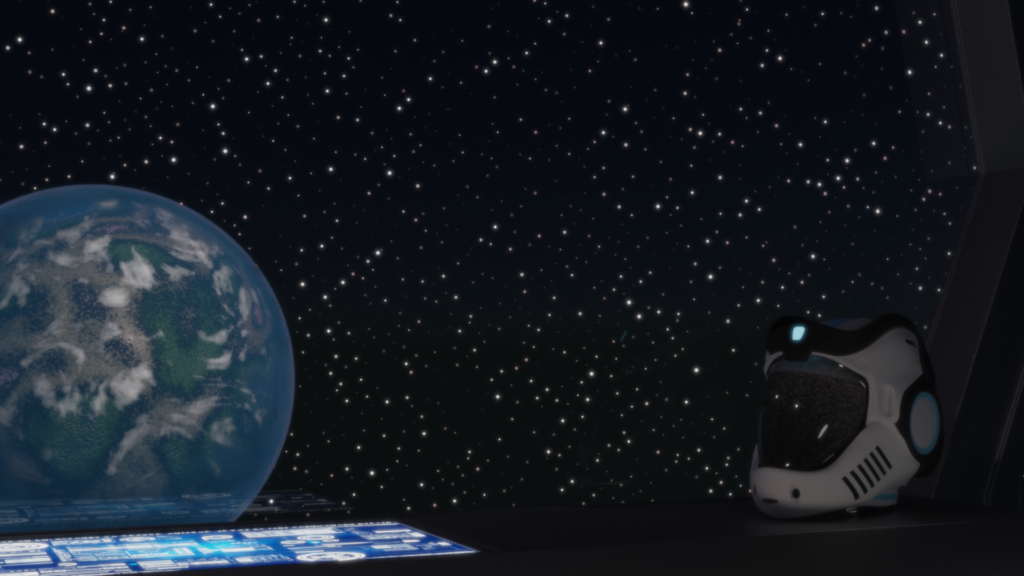
Finally here’s a scene with a helmet with the base design also from the Falcon gamebook that I used as a reference previously. I really only wanted some extra practice doing hard surface modelling with a clean mesh. This was much, much more difficult than I had expected. I had a hard time deciding how dense the mesh ought to be at different parts in order to support the details that I needed to add in. Yet arbitrarily adding in cuts as needed would deform the shape. Then there’s the problem of cleanly cutting holes in the mesh. I really should look for a proper tutorial for this.
The rest of the scene is fairly easy of course though the planet was generated with the b3dplanetgen add-on. Though perhaps I should have just focused on the helmet itself. I’m not great with designing appropriate textures etc. to put on it without a reference to work off of however.
Going forward I think I might be cutting the time I spend on Blender since it is just a hobby and it’s not like I’m making it my job, so future updates will likely be more infrequent.